Today in this adobe photoshop tutorial, we will understand how to easily put in a copyright watermark design on images. If you are one of the numerous digital professional photographers or designers who are employing the web nowadays either showing a client the task you’ve done for the coffee lover or showcasing your portfolio, one of the major concerns is that someone out there is going to steal your work. we’re going to see how easy it is to do. follow these steps:
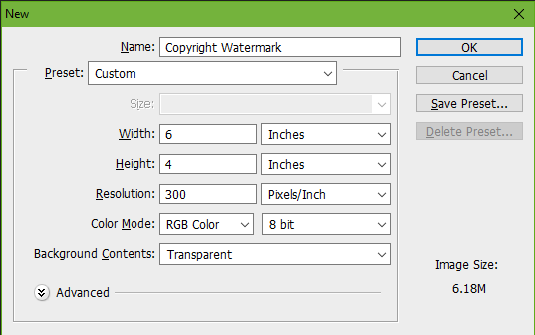
Step 1 – Open Photoshop and open a new blank document with a transparent background
Go to File menu > New… > New Document
Step 2 – Copyright Information
Select the type tool or pressing T on your keyboard, And type your copyright information.
to display copyright symbol ©
- On mac press Option-G
- on Windows Alt+ 0169

now rotate your text with 45 angle
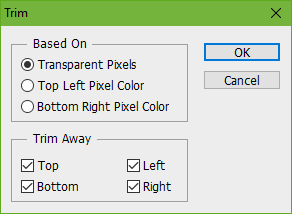
Step 3 – Trim The Document
for trim, go to image menu > trim
- you must select the Transparent pixels
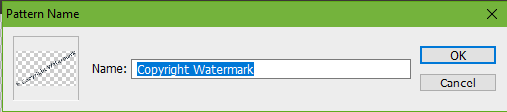
Step 4 – Define a Pattern
Now go to Edit > define A Pattern
Type your Pattern like copyright watermark
Step 5 – Close copyright watermark document
Now Close copyright watermark document and open your original image
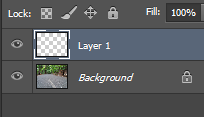
Step 6 – Add A New Layer
Shortcut key To Add A New Layer
- Shift+Ctrl+Alt+N in windows
- Shift+Command+Option+N in Mac
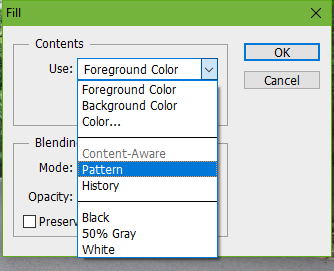
Step 7 – Fill the copyrighted pattern
Edit menu> Fill and select the copyright watermark pattern
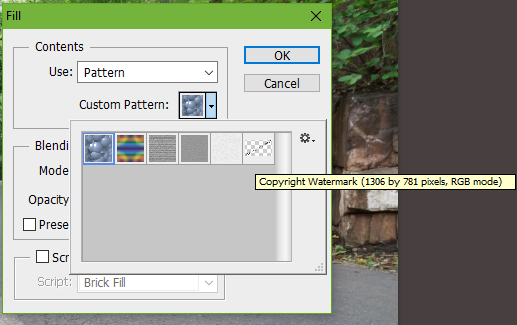
Step 8 – Fill the copyrighted pattern
Now select the copyright watermark pattern
Step 9 – Manage The Opacity
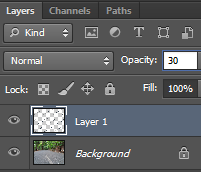

And there we have it! That’s how to protect your images with a copyright watermark pattern on the photo with adobe Photoshop. Thank you!