Enhancing your WordPress website’s functionality is easier than ever with plugins. These powerful tools help you add new features, boost performance, and customize your site without needing advanced coding skills. Whether you want to optimize SEO, strengthen security, improve design, or integrate e-commerce capabilities, plugins offer endless possibilities to enhance your site. With thousands of free and premium plugins available, you can tailor your website to meet your unique needs effortlessly.
Installing a WordPress plugin is a straightforward process, and there are three primary methods to do so. Each method offers flexibility depending on your technical expertise and the plugin source.
1️⃣ Using the Built-in Plugin Search: This is the simplest way to install plugins directly from the WordPress repository. You can search, install, and activate plugins in just a few clicks.
2️⃣ Manually Uploading via the Admin Dashboard: For premium or custom plugins not available in the WordPress directory, you can upload the plugin file (.zip format) through the admin panel and activate it easily.
3️⃣ Uploading via FTP: For more advanced users, FTP allows you to upload plugin files directly to your server, giving greater control over installation.
In this guide, we will walk you through each method step-by-step to help you install WordPress plugins effortlessly.
Table of Contents
Method 1: Installing a WordPress Plugin Using the Built-in Plugin Search
This is the most straightforward method, ideal for free plugins available in the WordPress Plugin Directory. It requires no file downloads and can be completed directly from your WordPress dashboard.
Steps to Install a Plugin Using the Built-in Plugin Search:
Step 1: Navigate to your WordPress dashboard.
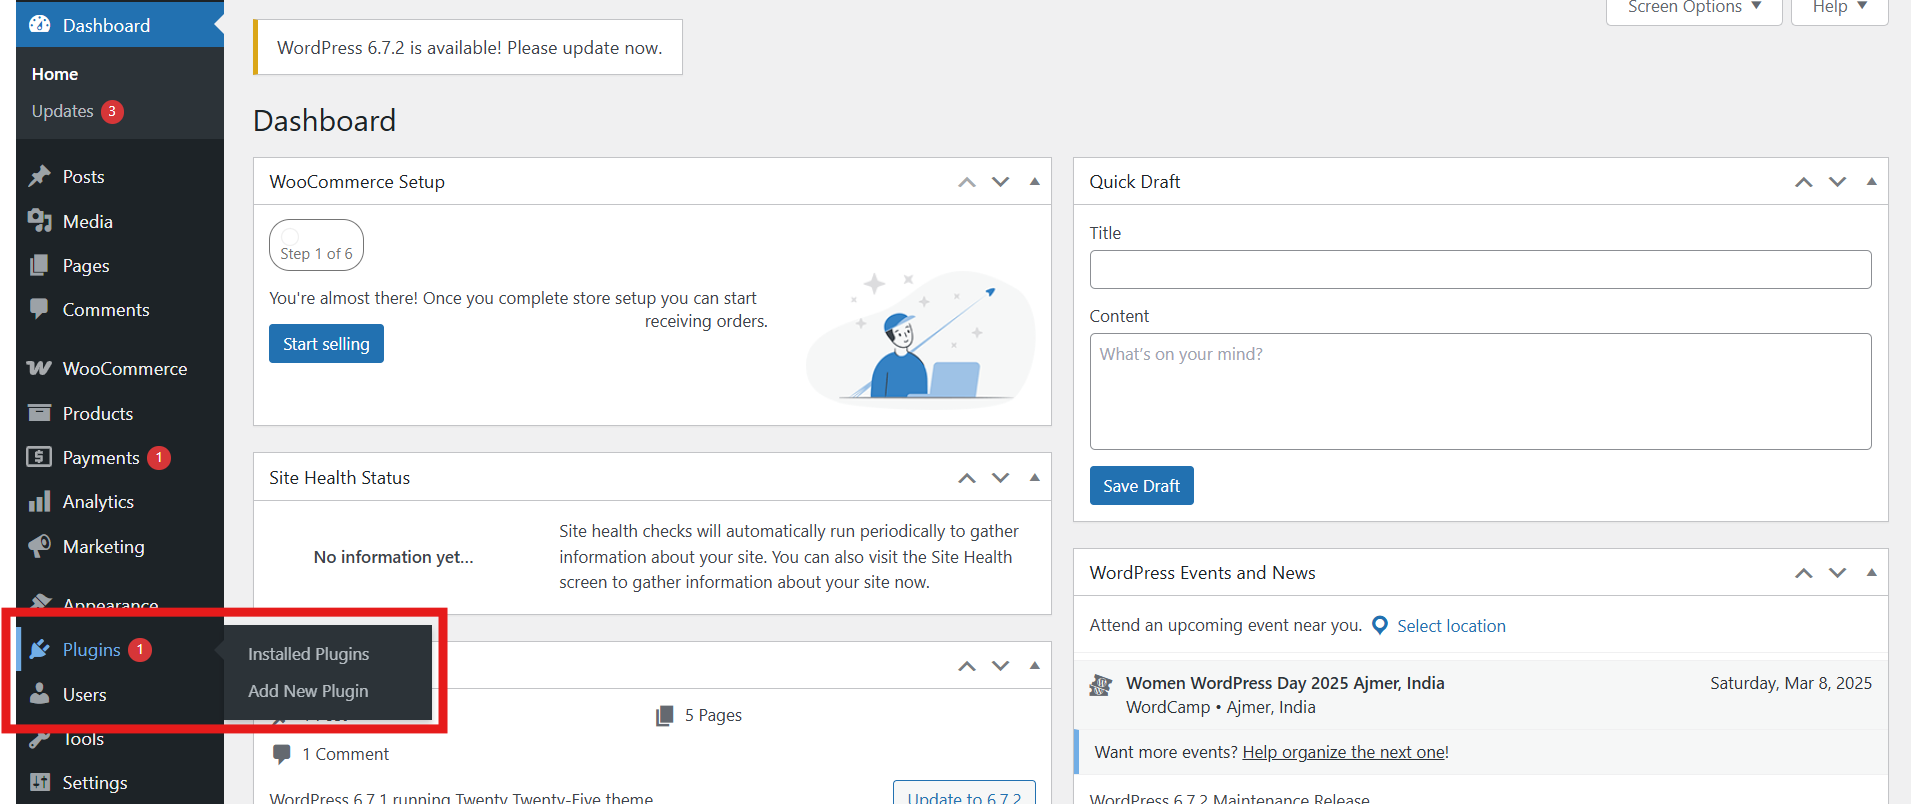
Step 2: Click on Plugins in the left-hand menu, then select Add New.
Step 3: In the search bar at the top-right corner, type the name or functionality of the plugin you’re seeking. For example, if you’re looking for a webpage cloning tool, you might search for “ClonePress“.

Step 4: Once you find the desired plugin, click Install Now.

Step 5: After installation, click Activate to enable the plugin on your site.
Advantages of Using the Built-in Plugin Search:
- Quick and easy installation directly from the WordPress dashboard.
- No need to download files or use external tools.
- Ensures compatibility with WordPress, as these plugins are reviewed by WordPress before being listed.
Limitations:
- This method is limited to plugins available in the official WordPress Plugin Directory.
- Some premium or custom plugins cannot be installed using this method.
Method 2: Manually Installing a WordPress Plugin Using the Admin Plugin Upload
For premium or custom plugins not listed in the WordPress Plugin Directory, you need to upload them manually. This method is common when installing plugins purchased from third-party developers or marketplaces like CodeCanyon, WooCommerce, or private developers.
Steps to Manually Install a Plugin:
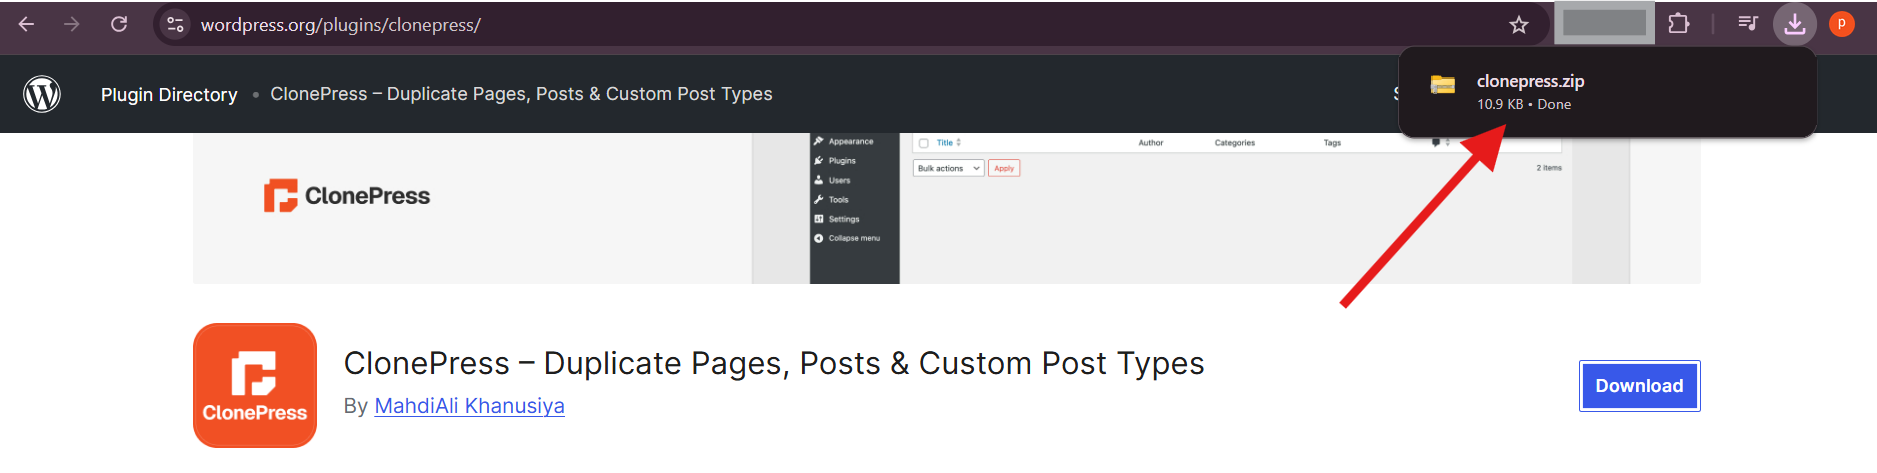
Step 1: Obtain the plugin’s .zip file from the provider. Ensure you download it from a reputable source to avoid security risks.
Step 2: In your WordPress dashboard, go to Plugins > Add New.
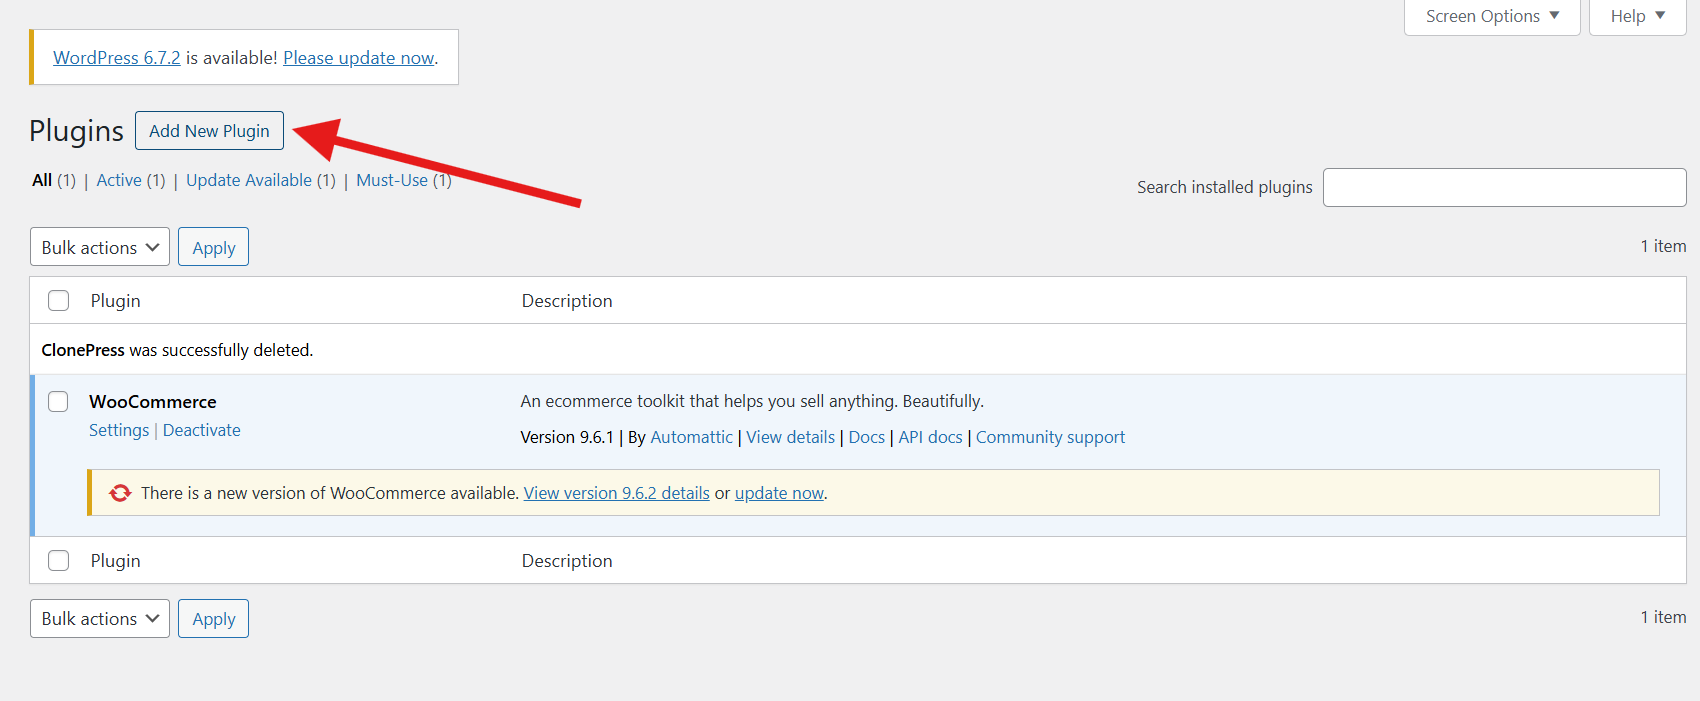
Step 3: Click the Upload Plugin button at the top of the page.
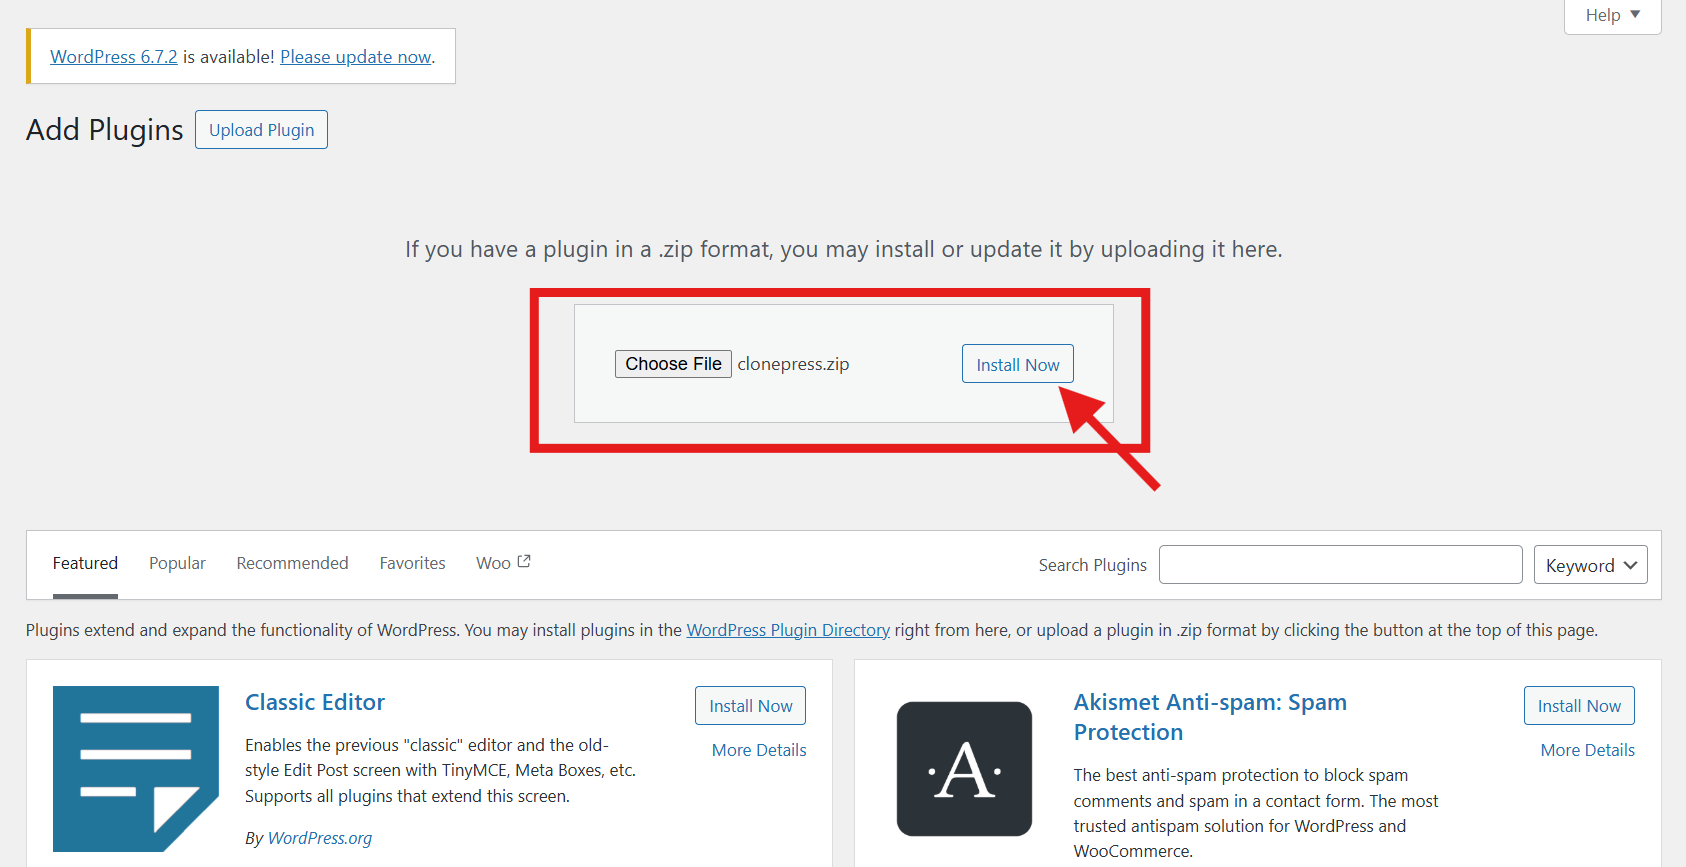
Step 4: Click Choose File, select the plugin .zip file from your computer, and then click Install Now.
Step 5: Once the upload is complete, click Activate Plugin to enable it.
Advantages of Manual Installation via Admin Dashboard:
- Allows the installation of premium and custom plugins.
- Easy to execute without needing FTP access.
Limitations:
- Requires obtaining the plugin’s .zip file beforehand.
- If the file is too large, the upload may fail due to server limitations.
Method 3: Manually Installing a WordPress Plugin Using FTP
If you encounter issues with the previous methods, such as file upload size restrictions, or if you prefer direct control, using File Transfer Protocol (FTP) allows you to upload plugin files directly to your server. This method is commonly used by developers and advanced users.
Steps to Install a Plugin Using FTP:
Step 1: Download and extract the plugin’s .zip file on your computer. This will create a folder containing all the necessary files.
Step 2: Connect to your website’s server using an FTP client like FileZilla, Cyberduck, or WinSCP. You will need your FTP credentials (hostname, username, and password) provided by your hosting provider.
Step 3: Navigate to the /wp-content/plugins/ directory.
Step 4: Upload the extracted plugin folder to this directory.
Step 5: Once the upload is complete, log in to your WordPress dashboard.
Step 6: Go to Plugins > Installed Plugins and click Activate under the newly uploaded plugin.
Advantages of FTP Installation:
- Useful for large plugins that may exceed the upload size limit in the WordPress dashboard.
- Provides more control over plugin files.
- Can be used when the WordPress dashboard is inaccessible due to errors.
Limitations:
- Requires FTP client software and login credentials.
- More technical knowledge is needed compared to other methods.
- If done incorrectly, it can lead to errors or site malfunctions.
Best Practices for Installing WordPress Plugins
Regardless of the installation method, following best practices ensures a smooth experience and keeps your website secure:
✅ Choose Reliable Plugins
Only download plugins from trusted sources like the official WordPress Plugin Directory, reputable marketplaces, or directly from well-known developers. Check reviews, active installations, and the last update date to ensure the plugin is well-maintained.
✅ Keep Plugins Updated
Regularly update plugins to benefit from new features, bug fixes, and security patches. Outdated plugins can make your site vulnerable to cyber threats.
✅ Limit the Number of Plugins
Avoid installing too many plugins, as they can slow down your website and cause conflicts. Deactivate and delete plugins you no longer use.
✅ Check Compatibility
Before installing, verify that the plugin is compatible with your current version of WordPress. Some plugins may conflict with others, leading to site errors.
✅ Backup Your Website
Always back up your site before installing or updating plugins. Use plugins like UpdraftPlus or BackupBuddy for automated backups.
✅ Use a Staging Environment
If you manage a live website, test new plugins in a staging environment before activating them on your main site. Many hosting providers offer staging sites to prevent disruptions.
FAQS
What is the easiest way to install a WordPress plugin?
The easiest method is using the Built-in Plugin Search from your WordPress dashboard. Simply go to Plugins > Add New, search for the plugin, click Install Now, and then Activate. It requires no file downloads or external tools.
How do I manually install WordPress plugins?
To manually install a WordPress plugin, follow these simple steps:
1. Download the plugin: Get the plugin’s .zip file from a trusted source, like a premium marketplace or a developer’s website.
2. Log in to your WordPress dashboard: Go to yoursite.com/wp-admin.
3. Navigate to Plugins > Add New: In the left-hand menu, click “Plugins” and then “Add New.”
4. Click Upload Plugin: At the top of the page, click the “Upload Plugin” button.
5. Choose the plugin file: Click “Choose File,” select the .zip file from your computer, and click “Install Now.”
6. Activate the plugin: Once installed, click the “Activate Plugin” button to enable it on your site.
How do I run a WordPress plugin?
To run a WordPress plugin after installing it, follow these two simple steps:
1. Activate the plugin: After installation, click the “Activate” button. This enables the plugin and makes it functional on your site.
2. Access the plugin settings: Once activated, most plugins will add a menu item to your WordPress dashboard, either in the main sidebar or under Settings, Tools, or Plugins > Installed Plugins. Click on the plugin’s name to configure its settings and start using its features.
Conclusion
By mastering these installation methods, you open the door to a smarter, more dynamic WordPress website. Plugins empower you to do everything from creating custom contact forms and adding multilingual content, to embedding social media feeds, automating backups, and even integrating booking systems for appointments or events.
The built-in plugin search is your fastest route to free, trusted tools right from your dashboard. For more specialized functionality or premium features, the manual upload method is ideal. And when file size or access limitations arise, FTP installation gives you direct control.
With thousands of plugins available, you can shape your site into a powerful platform for blogging, business, education, or community-building. Want to add interactive quizzes, membership portals, live chat widgets, or even custom post types? There’s a plugin for that—and you can install it in just minutes.
Now that you know how to install WordPress plugins like a pro, go explore, experiment, and extend your website’s potential—no coding required, just creativity!