Selling your products worldwide is an exciting goal for any online store owner. But if you want to really connect with shoppers from different corners of the globe, you’ll want to do more than just offer international shipping. One of the smartest ways to grow your store is to Set Prices in WooCommerce that make sense for each shopper’s location.
Sounds complicated? It doesn’t have to be! When you Set Prices Based on Country, you adjust your prices to match local markets, currencies, and even taxes. You don’t have to be a tech wizard to pull it off, either.
In this fun, beginner-friendly guide, you’ll learn exactly how to Set Prices Based on Country in WooCommerce, which plugins make it simple, and how to test it so you never lose a sale due to confusing prices. Let’s dive in and make your WooCommerce store truly global!
Table of Contents
Why Should You Set Prices Based on Country?
Before you start hunting for plugins and settings, let’s talk about why you’d even want to Set Prices in WooCommerce for different countries in the first place.
Here’s the deal: not every country’s economy works the same way. A price that feels like a steal in one country could feel way too high in another. By learning how to Set Prices Based on Country, you get to be flexible and fair and your shoppers will love you for it.
Here are a few big perks:
✅ Better Conversion Rates: When you Set Prices in WooCommerce that feel right for each market, more shoppers hit the buy button.
✅ Fair Prices for Everyone: Adjust for currency exchange rates and local purchasing power. Nobody feels overcharged.
✅ Smooth Tax and Duty Handling: Different countries have different VAT or GST rules. With country pricing, you can factor these in without hassle.
✅ Stay Ahead of Competitors: Local competitors might already have country-friendly pricing. With the ability to Set Prices Based on Country, you can match or beat them.
✅ Fewer Abandoned Carts: Shoppers hate surprises at checkout. If your store suddenly adds extra charges for exchange rates, they might bail. Clear, local pricing builds trust.
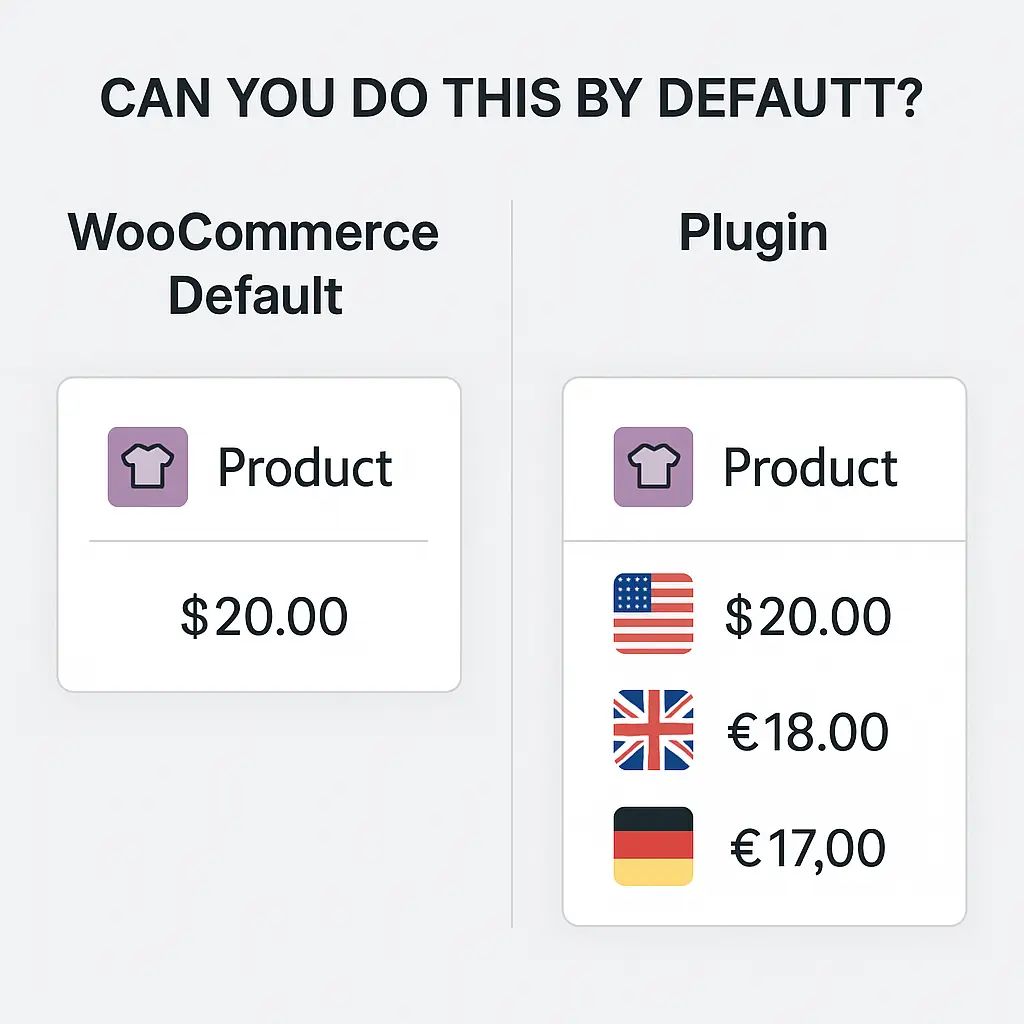
Is there a Way to Do It Manually?
Without a plugin, you’d have to:
- Duplicate each product for every country or region you want different prices for.
- Create separate categories or pages for each country’s products.
- Use a geo-targeting plugin or custom code to detect the shopper’s country and redirect them to the right version of the product or page.
- Keep track of all versions and update stock, images, descriptions, and prices for each one.
So, for example, if you sell T-shirts and want to Set Prices Based on Country, you’d have to duplicate your T-shirt product three times: once for the US, once for Canada, once for Australia, each with its own price and currency symbol. Then you’d use redirects or special menus to funnel people to the right version.
🤯 Why This Gets Messy Fast:
- Imagine updating prices for 200 products, three times over. Yikes.
- Inventory management becomes confusing, if you sell one shirt in the US store, do you adjust stock in the Canadian store too?
- Shoppers might get lost if they land on the wrong version.
- You’d probably need custom code or advanced redirect rules to detect each visitor’s country and send them to the right page.
✅ When the Manual Way Might Make Sense:
There are a few rare situations where this old-school method could work:
- You only sell one or two products and don’t mind managing duplicates.
- Your products are digital downloads, so you don’t have inventory worries.
- You already run separate sites for each region.
Best Plugins to Set Prices Based on Country
There are several powerful plugins that handle country-based pricing. Here are some top picks:
- WooCommerce Price Based on Country (by Oscar Gare): This free plugin is super popular. It automatically detects your customer’s country by their IP and shows them the correct price and currency.
- WooCommerce Multi-Currency by TIV.NET INC: Another excellent plugin for setting prices in multiple currencies and adjusting pricing rules.
- WooCommerce Currency Switcher (WOOCS): Lets customers choose their preferred currency while allowing you to set different prices per currency.
All three are beginner-friendly and come with documentation to help you get started. Still deciding if WooCommerce is your best fit? Read our Shopify vs WooCommerce comparison for a full breakdown.
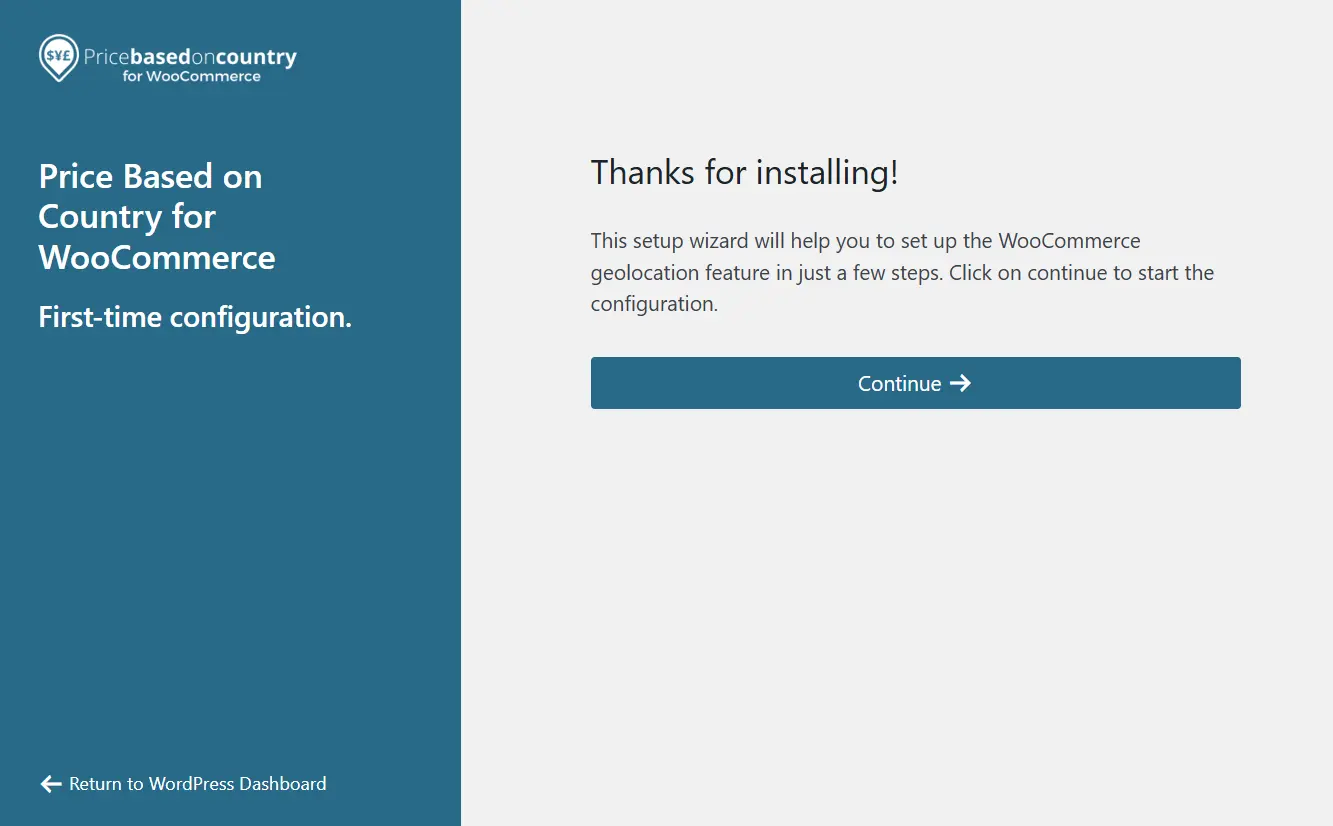
Install and Activate Your Chosen Plugin
Let’s walk through an example using WooCommerce Price Based on Country, since it’s free and highly rated.
1️⃣ Go to your WordPress dashboard.
2️⃣ Click on Plugins > Add New.
3️⃣ Search for “Price Based on Country for WooCommerce.”
4️⃣ Click Install Now, then Activate.
Not sure how to add a plugin? Check out our guide on how to install a WordPress plugin before you start.
💡 Pro Tip: Before you run off to set up your pricing rules, make sure your plugin is up to date. Outdated plugins can cause weird bugs when you try to Set Prices in WooCommerce for multiple countries. Before you make big pricing changes, protect your site with one of the best WordPress backup plugins.
Configure Your Plugin Settings to Set Prices Based on Country
Now the real fun begins. You’ve installed your plugin, hit Activate, and now it’s time to tell your store exactly how to Set Prices Based on Country. This part is where you make your global pricing dreams come true!
🌍 Step 1: Find Your New Pricing Settings
Head over to your WordPress dashboard again. Go to WooCommerce > Settings.
Look for the new tab your plugin added, it might be called Zone Pricing, Pricing Zones, or Multi-Currency, depending on what you installed. Click it and get ready to work your magic.
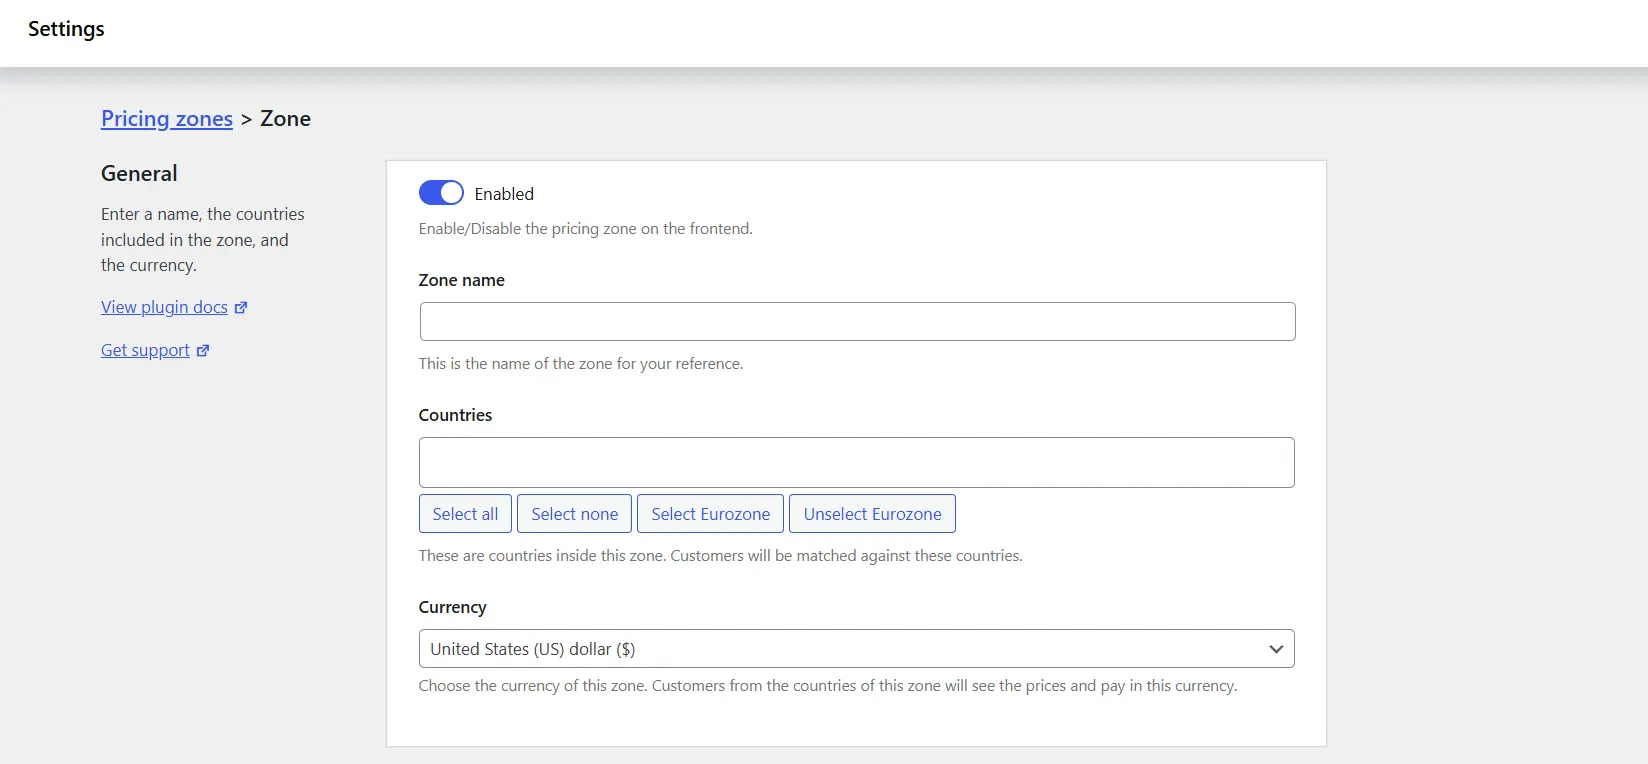
🗺️ Step 2: Create Your Pricing Zones
To Set Prices in WooCommerce for different countries, you need to create “zones.” A pricing zone is basically a group of countries (or just one) that will see the same prices and currency.
For example:
- You might have a USA Zone for customers in the United States.
- A Europe Zone for the EU countries.
- An Asia Zone for shoppers in India, Japan, and Singapore.
This step is super flexible. You can have as many zones as you need, just keep it simple to start.
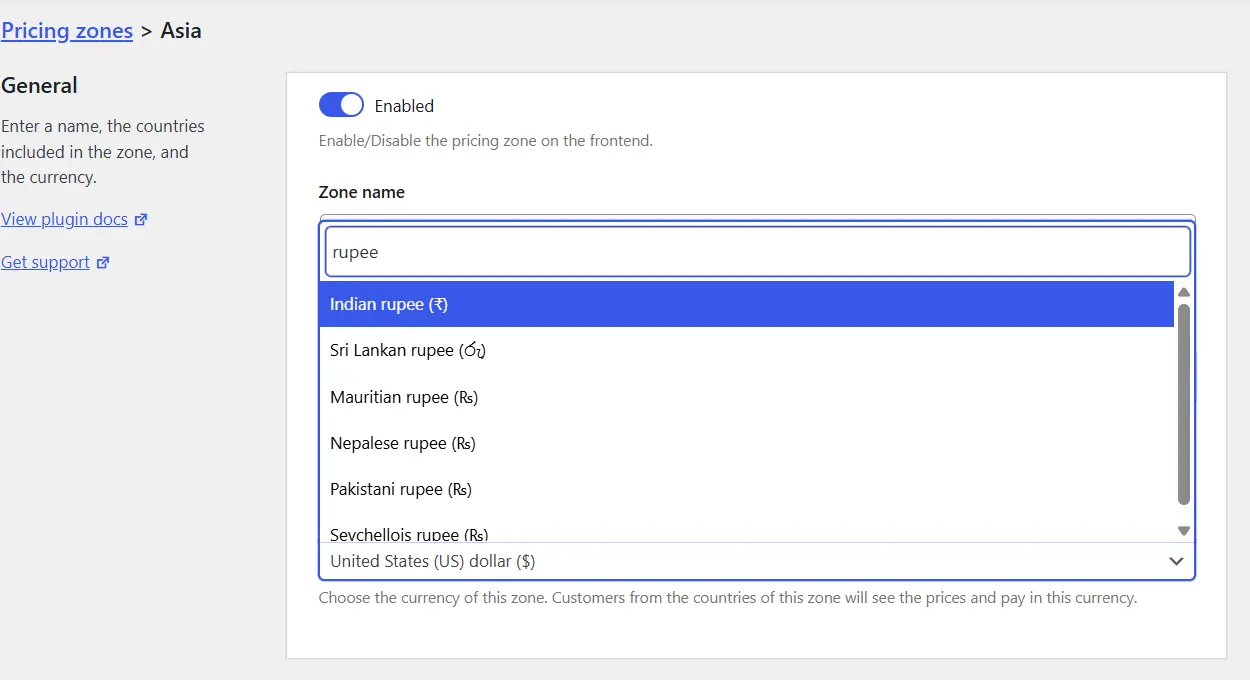
💱 Step 3: Choose Currencies for Each Zone
Next, pick the currency for each zone. This is where your plugin really shines, it will automatically show the right currency based on where your shopper is browsing from.
So if you want to Set Prices Based on Country in your WooCommerce store, this step is a must. Example:
- USA Zone: USD
- Europe Zone: EUR
- Asia Zone: INR, JPY, or SGD
Most plugins have a dropdown where you pick the currency. Some even let you create custom exchange rates or link to real-time updates.
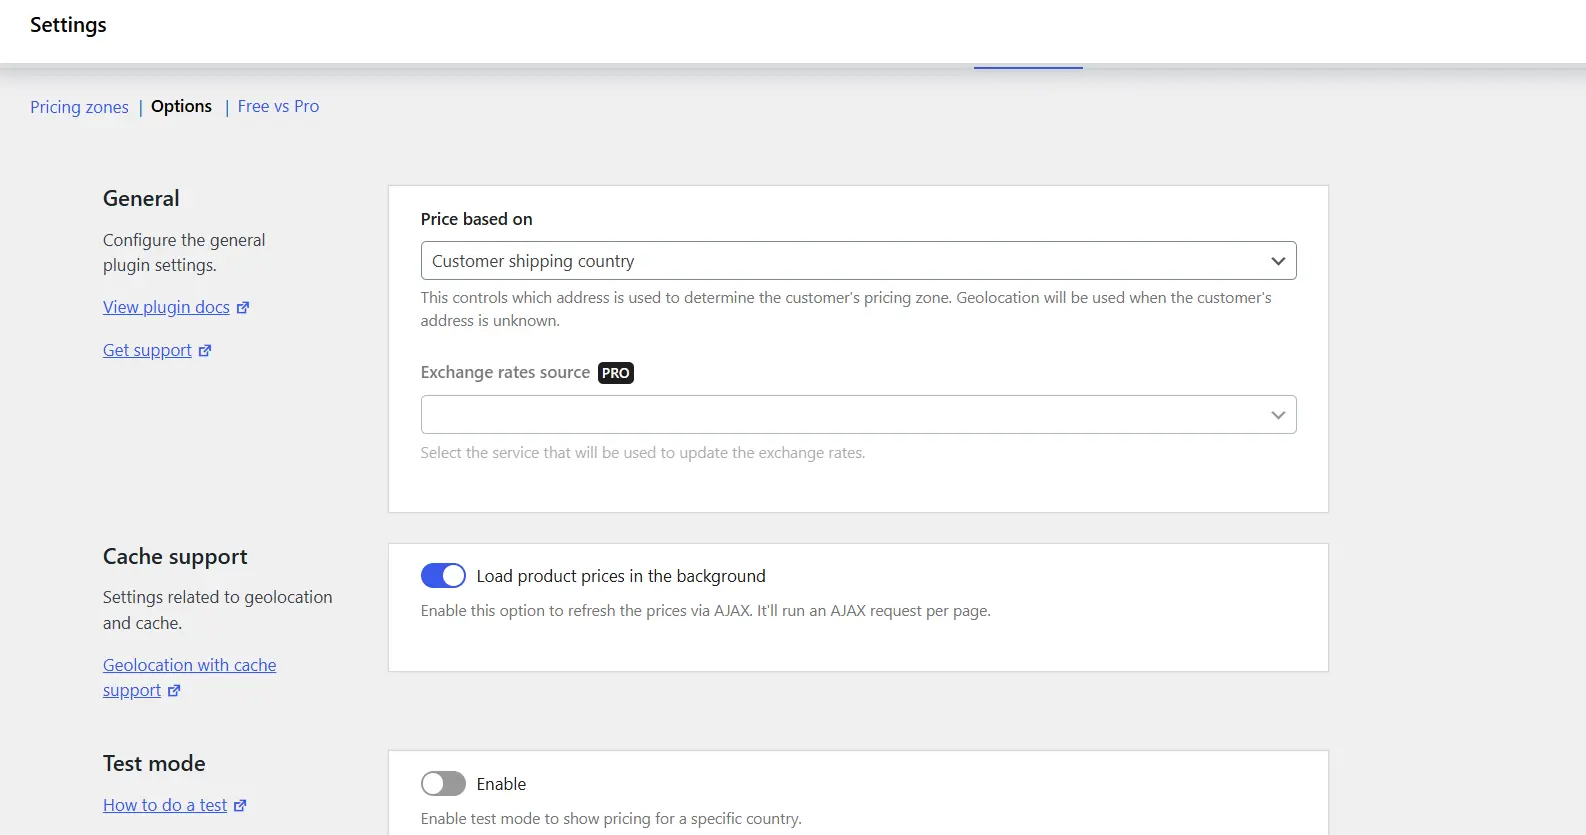
💵 Step 4: Pick How to Convert Prices
This part is important. How do you want your store to handle pricing differences? This can be accessed only through Pro version.
✅ Option 1: Use automatic exchange rates. The plugin does the math for you and updates rates daily.
✅ Option 2: Enter prices manually for each product. This gives you full control if you want to Set Prices in WooCommerce exactly for local markets, not just converted rates.
Many store owners use a mix, automatic rates for simple products, manual prices for big-ticket items where margins matter. Managing multiple country orders? Learn how to export WooCommerce orders easily to keep your accounting smooth.
Step 5: Set Up Country Detection
Your plugin needs to know where your shopper is browsing from so it can Set Prices Based on Country properly.
Most plugins use IP address detection for this. In your settings, you can usually choose between:
- Detect by IP address: Fast and automatic.
- Detect by billing address: More accurate but needs the customer to fill in details first.
Stick with IP detection for a smooth shopping experience, shoppers see their local price as soon as they land on your store.
Step 6: Save and Double-Check
You’ve done the hard work! Double-check your pricing zones, currencies, and conversion settings. Then hit Save Changes.
Congrats! Your store is now officially ready to Set Prices Based on Country like a pro.
💡 Pro Tip: While you’re tweaking your pricing, why not boost your site’s speed too? Here are our best hacks to speed up your WooCommerce store.
Set Country-Specific Product Prices in WooCommerce
You’ve set up your pricing zones, chosen your currencies, and told your plugin how to detect your shoppers’ location. Now it’s time for the most satisfying part, actually entering your custom prices. This is where you really Set Prices Based on Country and fine-tune your WooCommerce store for global sales.
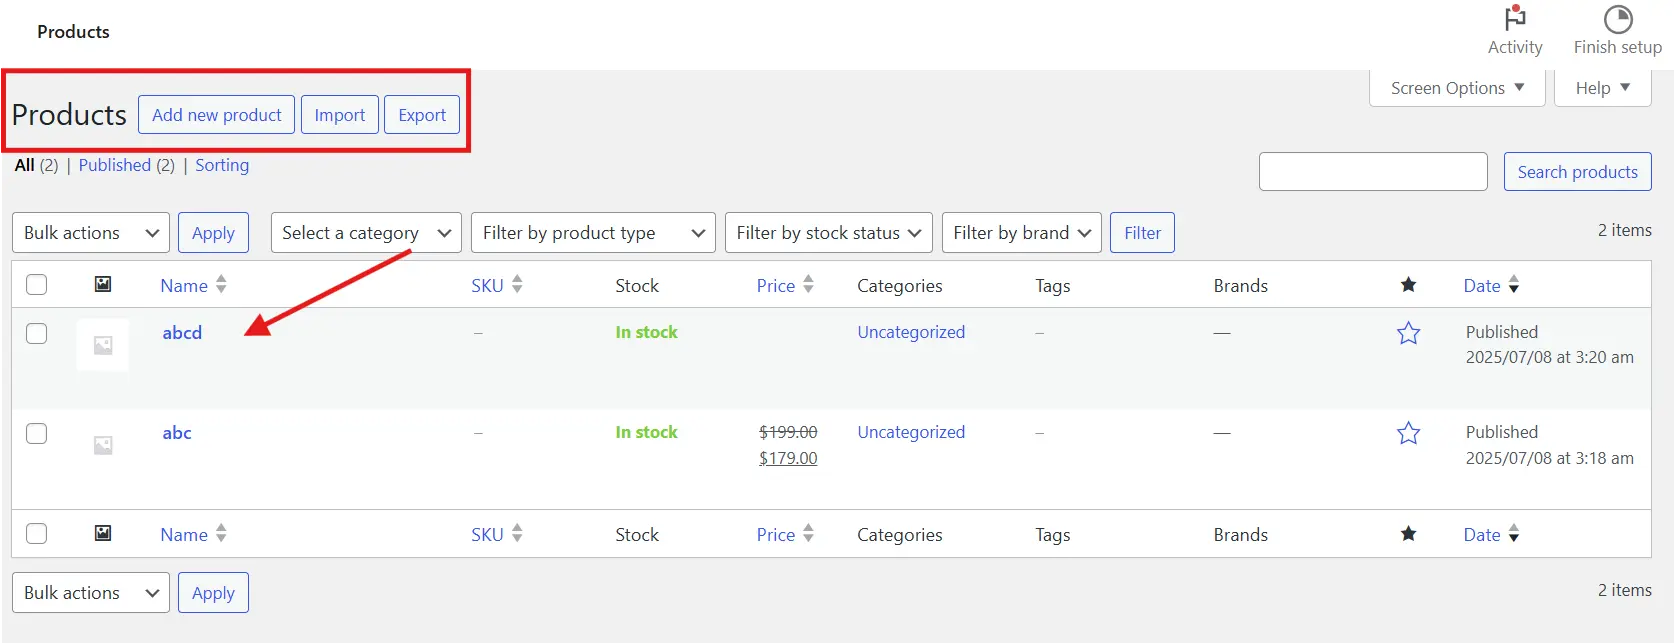
🛒 Step 1: Open a Product to Edit
Head over to Products > All Products in your WordPress dashboard. Pick any product you want to update. Click Edit to open the product details page.
If you’re just getting started, pick a best-seller or a popular item so you can see how your changes look in real time.
✏️ Step 2: Find the Country Pricing Section
Scroll down to the Product Data panel. If you installed the WooCommerce Price Based on Country plugin or something similar, you’ll see a new tab or section called Zone Pricing, Country Pricing, or Multi-Currency.
This is where you’ll Set Prices in WooCommerce for each country or region you created earlier.
💵 Step 3: Enter Your Custom Prices
In the new pricing section, you’ll see fields for each zone you made. For example:
- Regular Price for USA Zone
- Regular Price for Europe Zone
- Regular Price for Asia Zone
Type in the price you want shoppers in that zone to see. This is your chance to adjust for local market conditions, taxes, or special discounts, whatever makes sense for your business. Looking to grow your global sales even faster? Check out the best WooCommerce affiliate plugins to reach more customers.
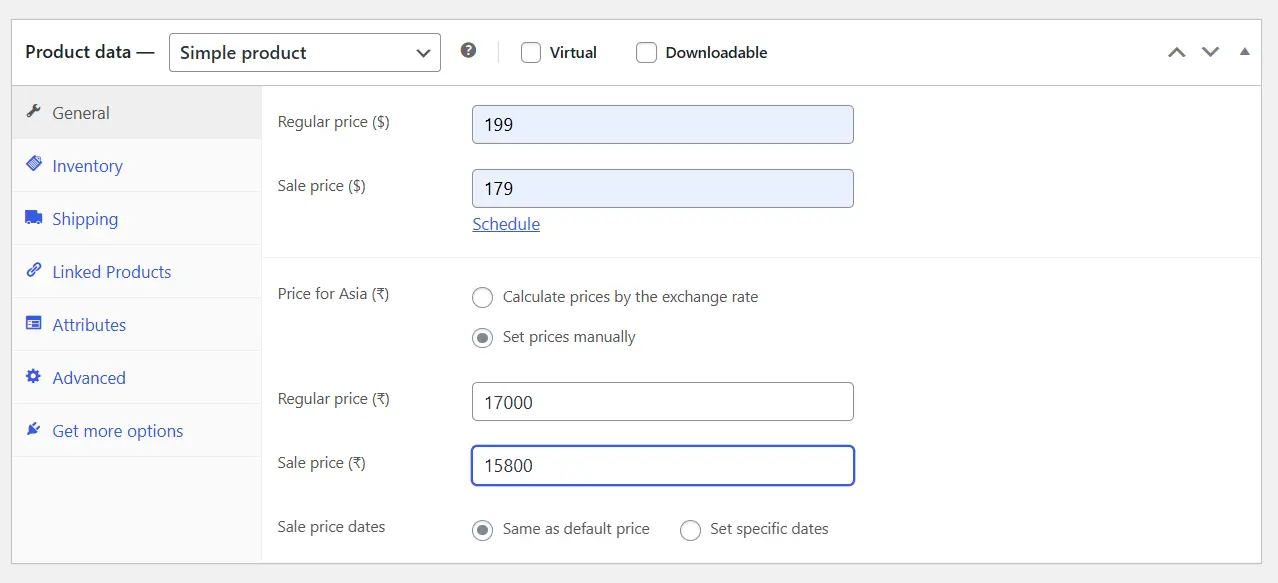
📉 Step 4: Add Sale Prices (Optional)
Want to run a sale for a specific region? Many plugins let you add a Sale Price for each country zone too.
For example:
- US customers see $50 (regular) or $40 (sale).
- Europe customers see €45 (regular) or €35 (sale).
This makes your deals feel local and relevant, which shoppers love.
✅ Step 5: Save and Publish
Once you’ve added all your country-specific prices, hit Update or Publish to save your changes. WooCommerce and your plugin handle the rest.
When a shopper from the USA lands on your product page, they’ll see the US price. A visitor from Europe will see the Euro price. It all happens automatically.
🎉 You’ve Just Set Prices in WooCommerce by Country!
Feels good, right? With this step, you now have full control to Set Prices Based on Country for any product in your store.
🔑 Pro Tips for Product Pricing
- Start small: Test with a few key products before updating your whole catalog.
- Keep an eye on your profit margins: Double-check fees and exchange rates to make sure you’re still profitable.
- Write clear product descriptions: Let shoppers know prices include local taxes or fees if needed.
- Stay organized: If you have lots of zones, keep a spreadsheet of your country-specific prices to avoid mix-ups.
- Taxes: Taxes can get tricky when you Set Prices Based on Country, don’t miss our full guide on setting up taxes in WooCommerce.
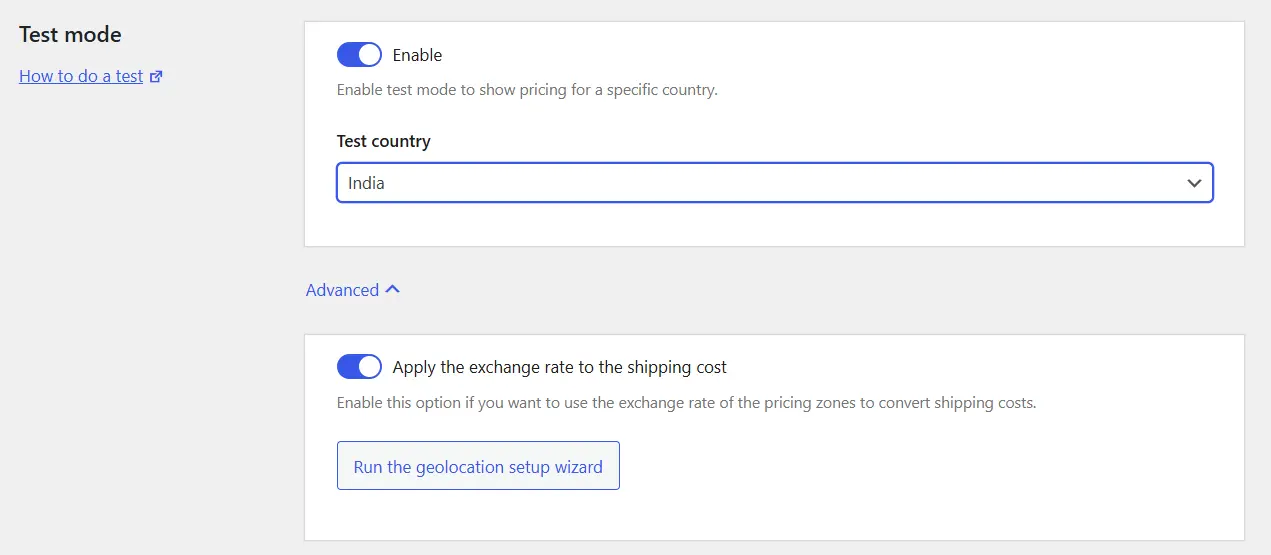
Test Your Setup Like a Pro
You don’t want to launch this blindly. Testing is important.
✅ Use a VPN or IP location changer to pretend you’re shopping from different countries.
✅ Add products to your cart and check if the prices are correct.
✅ Test checkout to ensure the currency and pricing rules work smoothly.
Fix any hiccups before going live to avoid customer confusion.
Tips for a Smooth Country-Based Pricing Strategy
Setting up country pricing is a big step, but a few smart tweaks can make it even better:
- Display currency symbols clearly: Make sure shoppers see the right symbol so there’s no guesswork.
- Update exchange rates regularly: Some plugins do this automatically. If yours doesn’t, set a reminder to review rates.
- Be transparent: Add a note to your pricing or FAQ page explaining that prices vary by country.
- Test regularly: Geo-location can break if your site cache interferes with IP detection. Test periodically to keep things accurate.
- Stay legal: Some countries have rules about displaying taxes and VAT. Make sure you comply.
- Custom Pages: Once your pricing is perfect, surprise shoppers with a custom thank you page. Here’s how to customize your WooCommerce Thank You page.
Conclusion
You made it! By now, you know exactly how to Set Prices Based on Country for different markets around the globe. With the right plugin, a bit of setup, and a quick test run, you’ll turn your store into a shopper-friendly global powerhouse.
Remember: local pricing builds trust, keeps customers happy, and helps you stay competitive in every region. Whether you run a tiny store or a big eCommerce empire, taking the time to Set Prices Based on Country is a game-changer.
Keep an eye on your zones, update your rates when needed, and test your setup now and then to keep things smooth. Happy global selling, your WooCommerce store is now ready to conquer the world, one local price at a time! Don’t miss out on these guides: